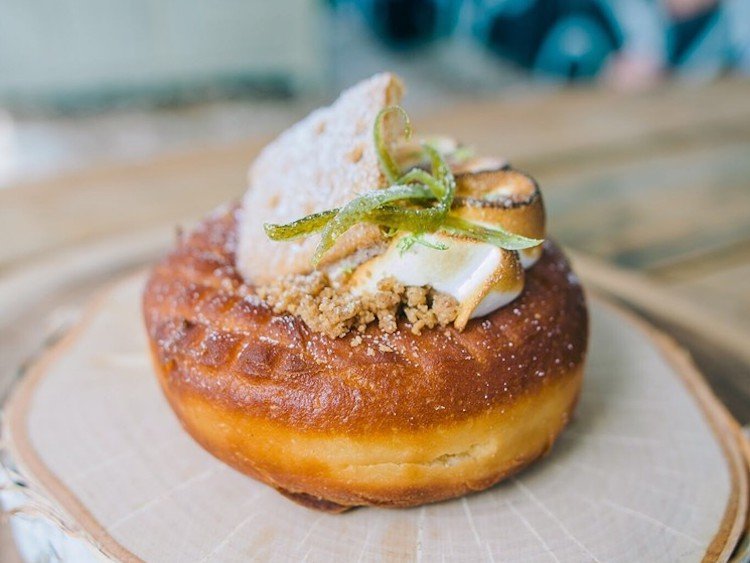
Here’s a recipe that Chef Max Santiago of Max’d Out Donuts allowed me to reprint here. It’s time for you to put your big boy pants on cause this a recipe by a donut master.
Introduction by Chef Max Santiago
For my first post of recipes, it’s no secret I’m known for my particular expertise in the world of donuts; I will be sharing some of the vital basics that every donut maker should know and need!
Chef Max Santiago
With simple-to-find ingredients for adventurous home donut makers out there! This is my go-to recipe for yeast-raised doughnut dough.
It works so well and is very easy to work with! One of the things that makes this dough so great is how soft it is.
It’s best to use cold because of how soft and sticky the dough is. This results in a much softer, more moist product.
How To Make The Perfect Yeast Raised Doughnuts

Ingredients
- 1 Cup – Whole Milk
- 1 Cup – Hot Water
- 1½ Tablespoons – Dry Yeast (Instant Yeast)
- ½ Cup – Granulated Sugar
- 1⁄4 Teaspoon – Ground Nutmeg
- 1 Tablespoon – Vanilla Extract
- 2 Whole Eggs
- 28 Ounces – All-Purpose Flour
- 1 Tablespoon – Kosher Salt
- 3 Ounces -Soft Butter
Procedure
- In the bowl of an electric mixer, whisk, by hand, together the milk and hot water to create a warm mixture.
- Sprinkle over and whisk in the yeast until completely dissolved. Whisk in the sugar. Whisk in the nutmeg, then the vanilla extract, followed by the eggs.
- Add all of the flour in at once and place the salt on top.
- Use the dough hook attachment, on low speed, and blend just until the dry gets incorporated, approx. 30 seconds, and then turn up to medium speed and add the soft butter in pieces.
- The dough will be very sticky, but continue to mix until it comes together and pulls away from the sides, approx 5-6 min. (the dough will still be very soft)
- Once done, place the dough, very evenly shaped in the form of a large rectangle, on a well-floured, lined sheet pan, and place plenty of flour on top.
- Wrap under and over with plastic wrap and place immediately into the refrigerator, to allow the dough to retard (process of slowing down the fermentation process or flavor, and gas development of the dough)
- Allow to sit in the fridge for at least 3 hours or overnight.
- Then flip the dough onto a well-floured work surface, then, lightly and evenly, roll to a 1/2 inch thickness, maintaining a nice round shape.
- Cut to desired size donuts. I usually use a 3 ½ inch donut cutter, but I love huge donuts!
- Proof for approx.15 min. in a warm, moist place until light and feels hollow.
- Fry at 325F for 1min and 10 sec. on each side. They should be golden brown. Remove with a small strainer or slotted spoon onto a drip rack. (never straight onto a pan)
Max’s Tip
- Never over-proof; make sure the dough is in a warm place. If it sits out too long and is not getting bigger, then it’s probably in too cold of an environment. When left out too long, the dough will dry out and form a skin that cracks when fried. It may also overdevelop the yeast flavor, tasting a bit sour.
- When frying, it is super important to stay at the proper temperature at all times! Invest in a fryer/sugar thermometer (they are very easily obtainable at most home goods stores i.e. Target); the thermometer should go up to at least 375 F or over 400 F. Allow the oil to go back up to proper temp between each fry.